
How I Built a Cedar-Clad Post and Rail Fence for Our Front Yard
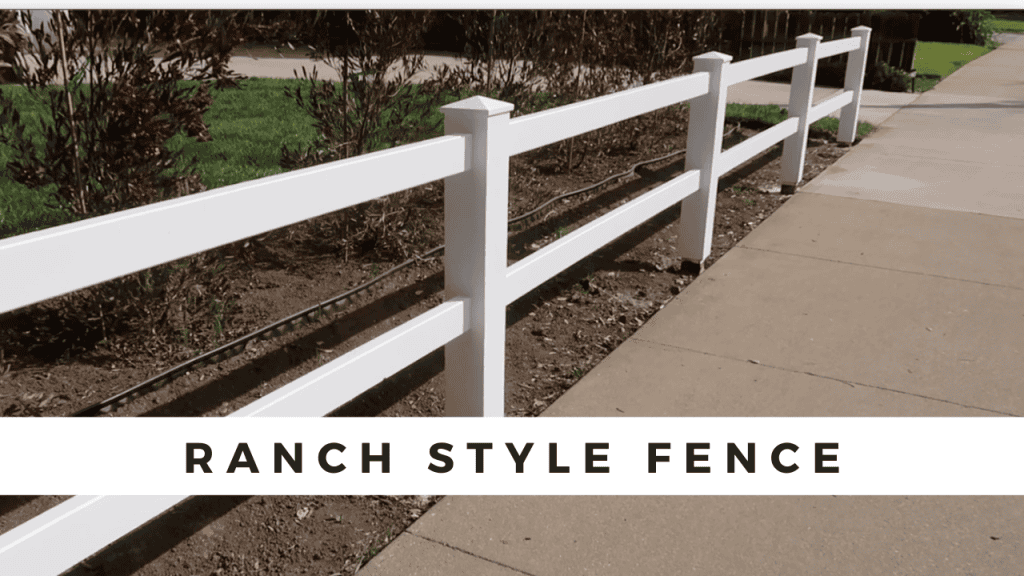
We’ve been slowly working on updating the front of our home, and one project I’ve been really excited about is adding a low post-and-rail style fence along the sidewalk.
It gives the yard more character, adds definition to the space, and overall just looks clean and intentional once it’s installed and painted.
In this post, I’ll walk you through how I built the fence, from making the posts to routing the rails to installing everything in concrete. This was a hands-on project, and if you enjoy woodworking or DIY outdoor projects, this is a fun one.
Watch How to Build the Fence Here:
Building the Fence Posts
The first step was creating the posts. I started with standard 4×4 pressure-treated lumber since these posts go directly into the ground and need to handle moisture.
Once set in concrete, they become the structural support for the whole fence.
Cladding the Posts With Cedar
To make the posts look more finished and give the fence a more custom look, I wrapped each one in 5/8-inch cedar—the same cedar you’d typically use for a standard privacy fence.
I cut all the cedar boards using a track saw so I could get straight, clean lines. Everything was cut at 45-degree angles so the corners would meet neatly around the post. I intentionally left a tiny bit of wiggle room around the 4×4 and used wood glue to fill the gap. Cedar will shrink a bit as it dries, and leaving a little space prevents the joints from splitting open later.
Once the cedar cladding was on, the posts looked clean and uniform—exactly what I wanted since the entire fence would be painted.
Routing for the Rails
Next, I needed a way to install the rails so they slid directly into each post. That meant routing out pockets on each side of the posts.
To make sure every post matched, I built a simple routing jig. The jig held the router in place and helped me cut the same depth and location on every post. A little prep upfront saves a ton of hassle later.
The cedar I was working with was wetter than expected, so instead of relying on my smaller router, I drilled out most of the material first and then finished the pocket with my larger router. It made the process much smoother.
I routed each post halfway through so the 2×4 redwood rails would slide in perfectly. Once all the posts matched, the fence layout started taking shape.
Making the Cedar Post Caps
I made simple caps out of 2×6 redwood boards to protect the tops of the posts. I cut them to size, ripped them to width, and then beveled the edges on my table saw.
The slight slope helps water shed off the top and keeps the end grain protected.
I glued the caps on with wood glue and secured them using a 15-gauge nail gun. Quick, sturdy, and ready for paint.
Prepping the Rails
Before installation, I pre-drilled the rails so the screws wouldn’t split the wood. The rails were made from redwood 2x4s, which hold up well outdoors and take paint nicely.
Installation Day
With everything prepped, it was time to set the fence in place.
I used Rapid Set concrete for the posts because it doesn’t require pre-mixing. I pour water into the hole first, add the concrete, mix it with a stick, and adjust with more water if needed. Once it sets, it creates a strong base that’s perfect for fencing.
I used the same routing jig to position each post exactly two inches off the sidewalk and at the correct height so everything aligned. This helped all the posts follow the curve of the sidewalk perfectly.
To attach the rails, I used both glue and stainless steel screws. A temporary support brace helped hold the rails in place while I secured them.
Keeping each post level (“a plumb post is a good post!”) and making sure dirt didn’t hit the cedar were the two things I paid most attention to during installation.
Wrapping Up the Build
Once the final post was set, the fence looked clean, cohesive, and ready for paint. There’s something so satisfying about seeing all the posts line up and the rails fit snugly into place.
Thank you for following along with this build! If you enjoy woodworking, outdoor DIYs, or home projects, be sure to subscribe to my YouTube channel. I’ll keep sharing behind-the-scenes projects, tips, and progress updates.